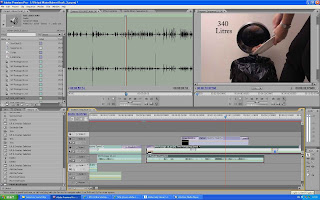
As the total footage was only 5 minutes I was able to capture it all at once. In addition to this I had decided the sequence of shots in my storyboard, so it was very straight forward to prepare the first edit. I showed this version to various people and received the following feedback:
- slow down the part where food is thrown into dustbin so you can see the product
- Improve graphics
- Add a voiceover to accompany graphics
- Increase the pace of the advert
I recorded the sound separately on an Ediroll which gave clear quality and enhanced the image. During the shoot I had made the error of recording the sound in mono and this not only created further work during the post production but also resulted in clipped audio which decreased its quality. I used Adobe Sound Booth to master the final sound mix.
Although I have used Adobe Premiere before to edit video I found it difficult to get used to the new version CS3. To overcome this I made use of the online tutorials through which I learned about new features only available in CS3 like ‘Time-remapping’. In addition to this the integration with other Adobe software packages was a lot easier through Adobe Bridge. This was especially beneficial for creating the graphics in Illustrator, developing the graphics into a frame in Photoshop and then finally transferring them to Premiere. With CS3 I didn’t have to save the frame or graphics in particular formats to import them into the other software. This could be done directly through the ‘Export to ….’ Feature.


No comments:
Post a Comment